Charcuterie boards are usually a big hit at parties, but buying them pre-made can cost you big bucks. With the right tools, such as the best cheese slicer, a flat piece of wood and high-quality ingredients, you can make an impressive, drool-worthy board fairly easily at home for a fraction of the cost.
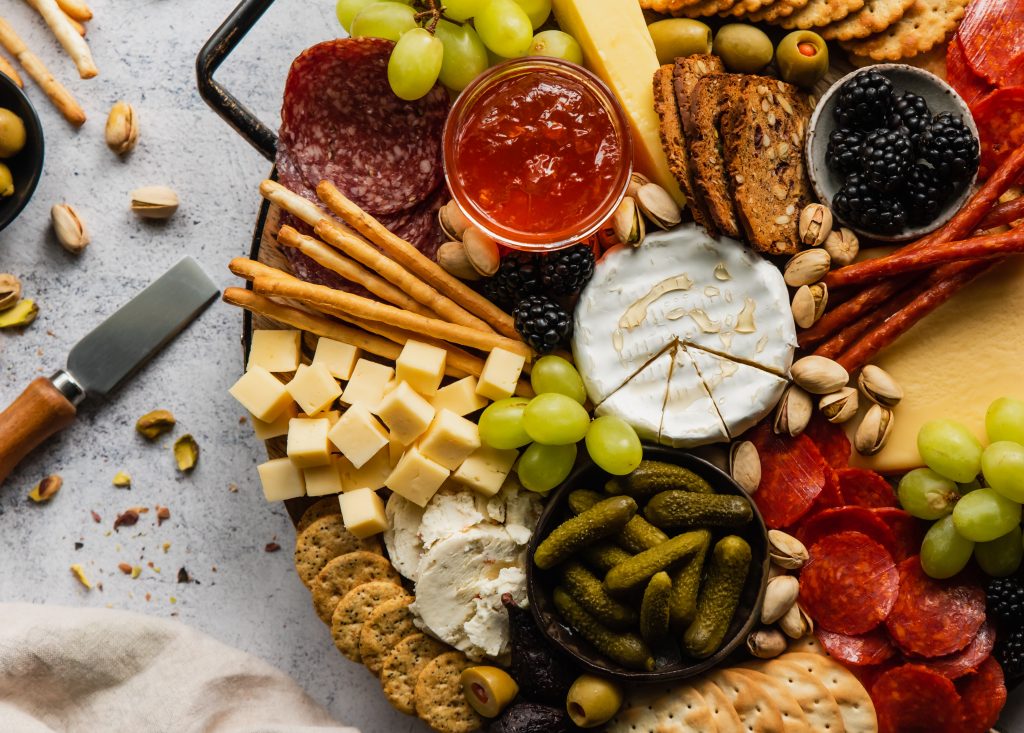
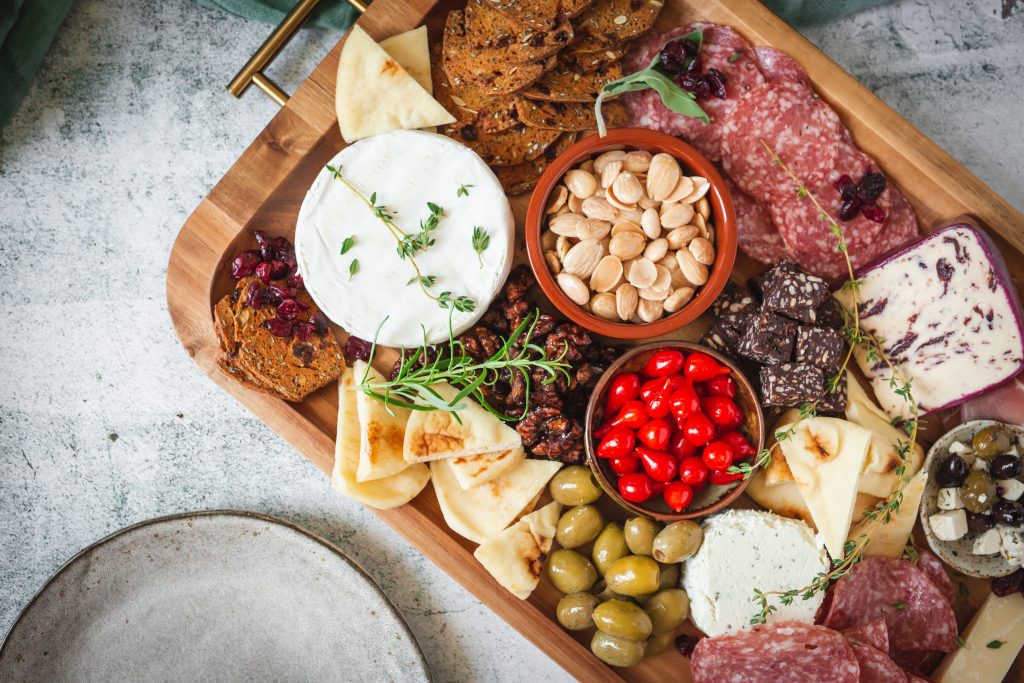
Charcuterie boards are traditionally made with cured pork products like salami and ham, as well as cheese, olives, nuts, dried fruit, crackers and other condiments like honey, mustard or chutney. The fun part is you can customize them to your audience, making them vegetarian-based, nut-free or dairy free. You can also make them holiday oriented by adding seasonal ingredients like spiced nuts and cheese balls over the holidays.

Some seasonal choices might save you money, too. For example, fruit that’s in season usually costs less and tastes better, too.
Unlike other recipes, you get to pick and choose what you use. There are no hard and fast rules on what you can and can’t include. You also don’t need to be a food stylist to put together a delicious board, we promise. After you create one, you might not ever want to stop.
How To Prepare A Charcuterie Board
A stunning charcuterie board can be the main attraction for a wine night or serve as an appetizer at a party. Since these boards are meant to be grazed on, it can be hard to determine how much food to set out. As a general rule of thumb, you can guesstimate 2 to 3 ounces of meat and 1 to 2 ounces of cheese per person.
Gather Your Ingredients And Cut
Cured meats are generally served as thinly sliced as possible, while cheeses can be cut slightly thicker. Dried fruits and nuts can be scattered about. Grapes are also a good addition to have. For bread slices or crackers, assume each piece of meat or cheese will need a piece to accompany it and then add in a handful of extra slices on top of that.

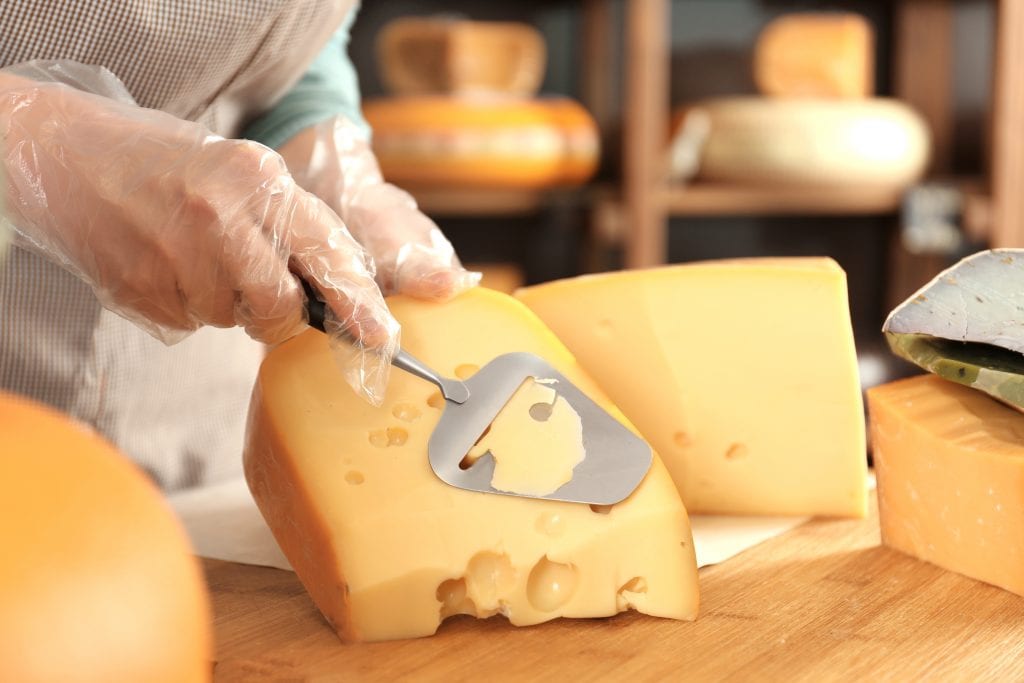
The best cheese slicers will be multipurpose, allowing you to not only effortlessly cut through hard or soft cheese, but meats and vegetables as well. If you’re looking to pick up one of these handy items, check out our selection of the best cheese slicers that’s been vetted by a team of experts.
Variety Is King With Charcuterie Boards
Keep in mind that serving a plethora of different ingredients with various textures and tastes will make for a more visually appealing board. To do this, use a combination of hard and soft cheeses, crackers, soft bread slices, spreadable condiments and smaller items like nuts, seeds and pickled vegetables.

The cheese section at many grocery stores will have a $5 basket loaded will smaller cuts of a variety of cheeses. This is a great place to pick up a few different varieties without spending a ton of money.
Pile It On
There’s no formula as to how to lay out your ingredients for display. Most charcuterie boards have a wooden base, such as a cutting board or pizza paddle, but you can also use a large ceramic or slate platter. If you have a collection of small bowls, they can be scattered about to contain various ingredients. And if you happen to have more food to set out than your board has space for, that’s OK, too. Simply surround the platter with additional bowls or small plates.
Don’t Let The Charcuterie Board Sit Out Too Long
For food safety purposes, only leave boards out for about two hours. Serve the board with glasses of wine or sparkling mocktails.
What might be best of all about charcuterie boards is that you can make them hours or a day ahead of time and store them wrapped in your fridge. This can take away some of the stress of having company over.
Don’t let a good board go to waste! If you have leftovers, use the ingredients to create sandwiches or chop them up to add to a pasta salad or frittata.
This story originally appeared on Don't Waste Your Money. Checkout Don't Waste Your Money for product reviews and other great ideas to save and make money.


